Articles
18 July 2024
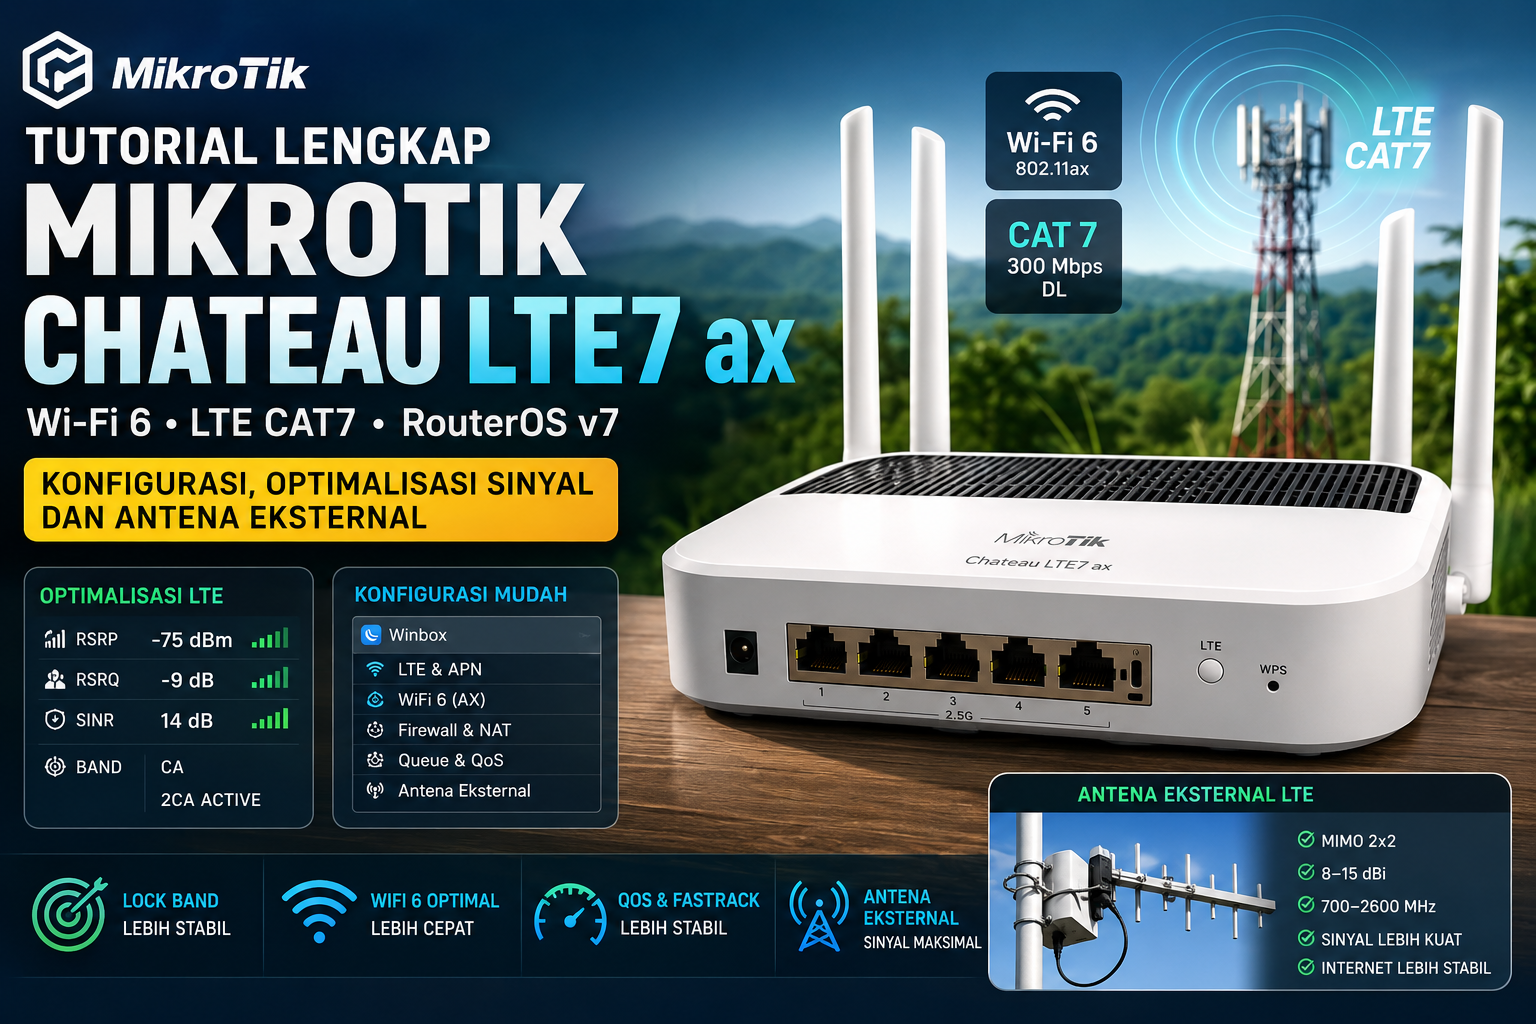
Complete Guide to Setting Up MikroTik from Scratch
Complete MikroTik Setup Guide from Scratch
MikroTik is a popular networking hardware for managing and controlling network traffic. This guide will help you set up MikroTik from scratch, using both the WinBox interface and the Command Line Interface (CLI).
1. Preparation of Tools and Materials
- MikroTik Router
- Ethernet Cable
- PC or Laptop with a network connection
2. Initial Connection to MikroTik
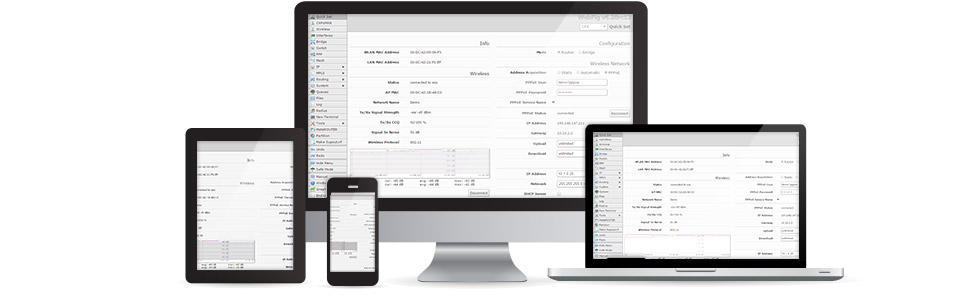
Using WinBox:
- Download and install WinBox from the official MikroTik website.
- Connect your PC/Laptop to the MikroTik using an Ethernet cable.
- Open WinBox, select the "Neighbors" tab to find the MikroTik router.
- Double-click on the detected router, then enter the username (
admin) and password (blank by default).
Using CLI:
- Connect your PC/Laptop to the MikroTik.
- Open a terminal application (e.g., PuTTY).
- Enter the default MikroTik IP address (
192.168.88.1) and port (22for SSH). - Log in using the username
adminand a blank password.
3. Basic Configuration
Using WinBox:
Set IP Address:
- Go to the IP > menu. Addresses.
- Click + to add a new IP address.
- Fill in the Address (for example,
192.168.1.1/24) and Interface (for example,ether1). - Click OK.
Set DNS:
- Enter the IP > DNS.
- Contents Servers (for example,
8.8.8.8for Google DNS). - Check Allow Remote Requests if necessary.
- Click Apply and OK.
Set Gateway:
- Enter the IP > Routes.
- Click + to add a new route.
- Contents Etc. Address with
0.0.0.0/0. - Fill in Gateway with the gateway address from your ISP.
- Click Apply and OK.
Set DHCP Server:
- Enter the IP > DHCP Server.
- Click DHCP Setup and follow the wizard that appears.
- Select the interface to use (for example,
ether2). - Fill in the parameters as needed, such as address pool, DNS, and gateway.
Using CLI:
Set IP Address:
/ip address add address=192.168.1.1/24 interface=ether1Set DNS:
/ip dns set servers=8.8.8.8 allow-remote-requests=yesSet Gateway:
/ip route add gateway=[ISP-gateway-address]Set DHCP Server:
/ip pool add name=dhcp_pool ranges=192.168.1.10-192.168.1.254
/ip dhcp-server network add address=192.168.1.0/24 gateway=192.168.1.1 dns-server=8.8.8.8
/ip dhcp-server add name=dhcp1 interface=ether2 address-pool=dhcp_pool disabled=no
4. Firewall Settings
Using WinBox:
- Enter the IP > Firewall.
- On the Filter Rules tab, click + to add a new rule.
- Add a rule to drop traffic from outside (internet) to inside (LAN) for basic security.
Using CLI:
/ip firewall filter add chain=input connection-state=invalid action=drop
/ip firewall filter add chain=input connection-state=established,related action=accept
/ip firewall filter add chain=input protocol=icmp action=accept
/ip firewall filter add chain=input in-interface=ether1 action=drop
5. Backup and Restore Configuration
Backup:
- WinBox: Go to the Files menu, click Backup, give the file a name, and click Backup.
- CLI:
/system backup save name=config-backup
Restore:
- WinBox: Go to the Files menu, select the backup file, and click Restore.
- CLI:
/system backup load name=config-backup
6. Monitoring and Maintenance
- Monitoring: Use features like Traffic Monitor, Torch, and Log to monitor router traffic and performance.
- Firmware Updates: Always update your MikroTik firmware to the latest version to get the latest features and bug fixes.
Conclusion
By following this guide, you can easily set up and configure your MikroTik router from scratch. Be sure to always check the official MikroTik documentation.